Best Homemade Salsa Recipe – Fresh Flavor
The Best Homemade Salsa isn’t just a condiment; it’s a vibrant celebration in a bowl. Forget those bland, store-bought jars that lack soul! There’s something undeniably magical about a freshly made salsa, bursting with the bright, zesty flavors of ripe tomatoes, crisp onions, and a kick of jalapeño. We all crave that perfect dip for our chips, that essential topping for our tacos, and that secret ingredient that elevates any Mexican-inspired dish. What makes this particular recipe stand out? It’s the balance. It’s that perfect harmony of sweet, spicy, and tangy that keeps you coming back for more, spoon after spoon. I’ve tinkered, tasted, and perfected this recipe to bring you the best homemade salsa you’ll ever make. Get ready to impress yourself and everyone lucky enough to share it with you!
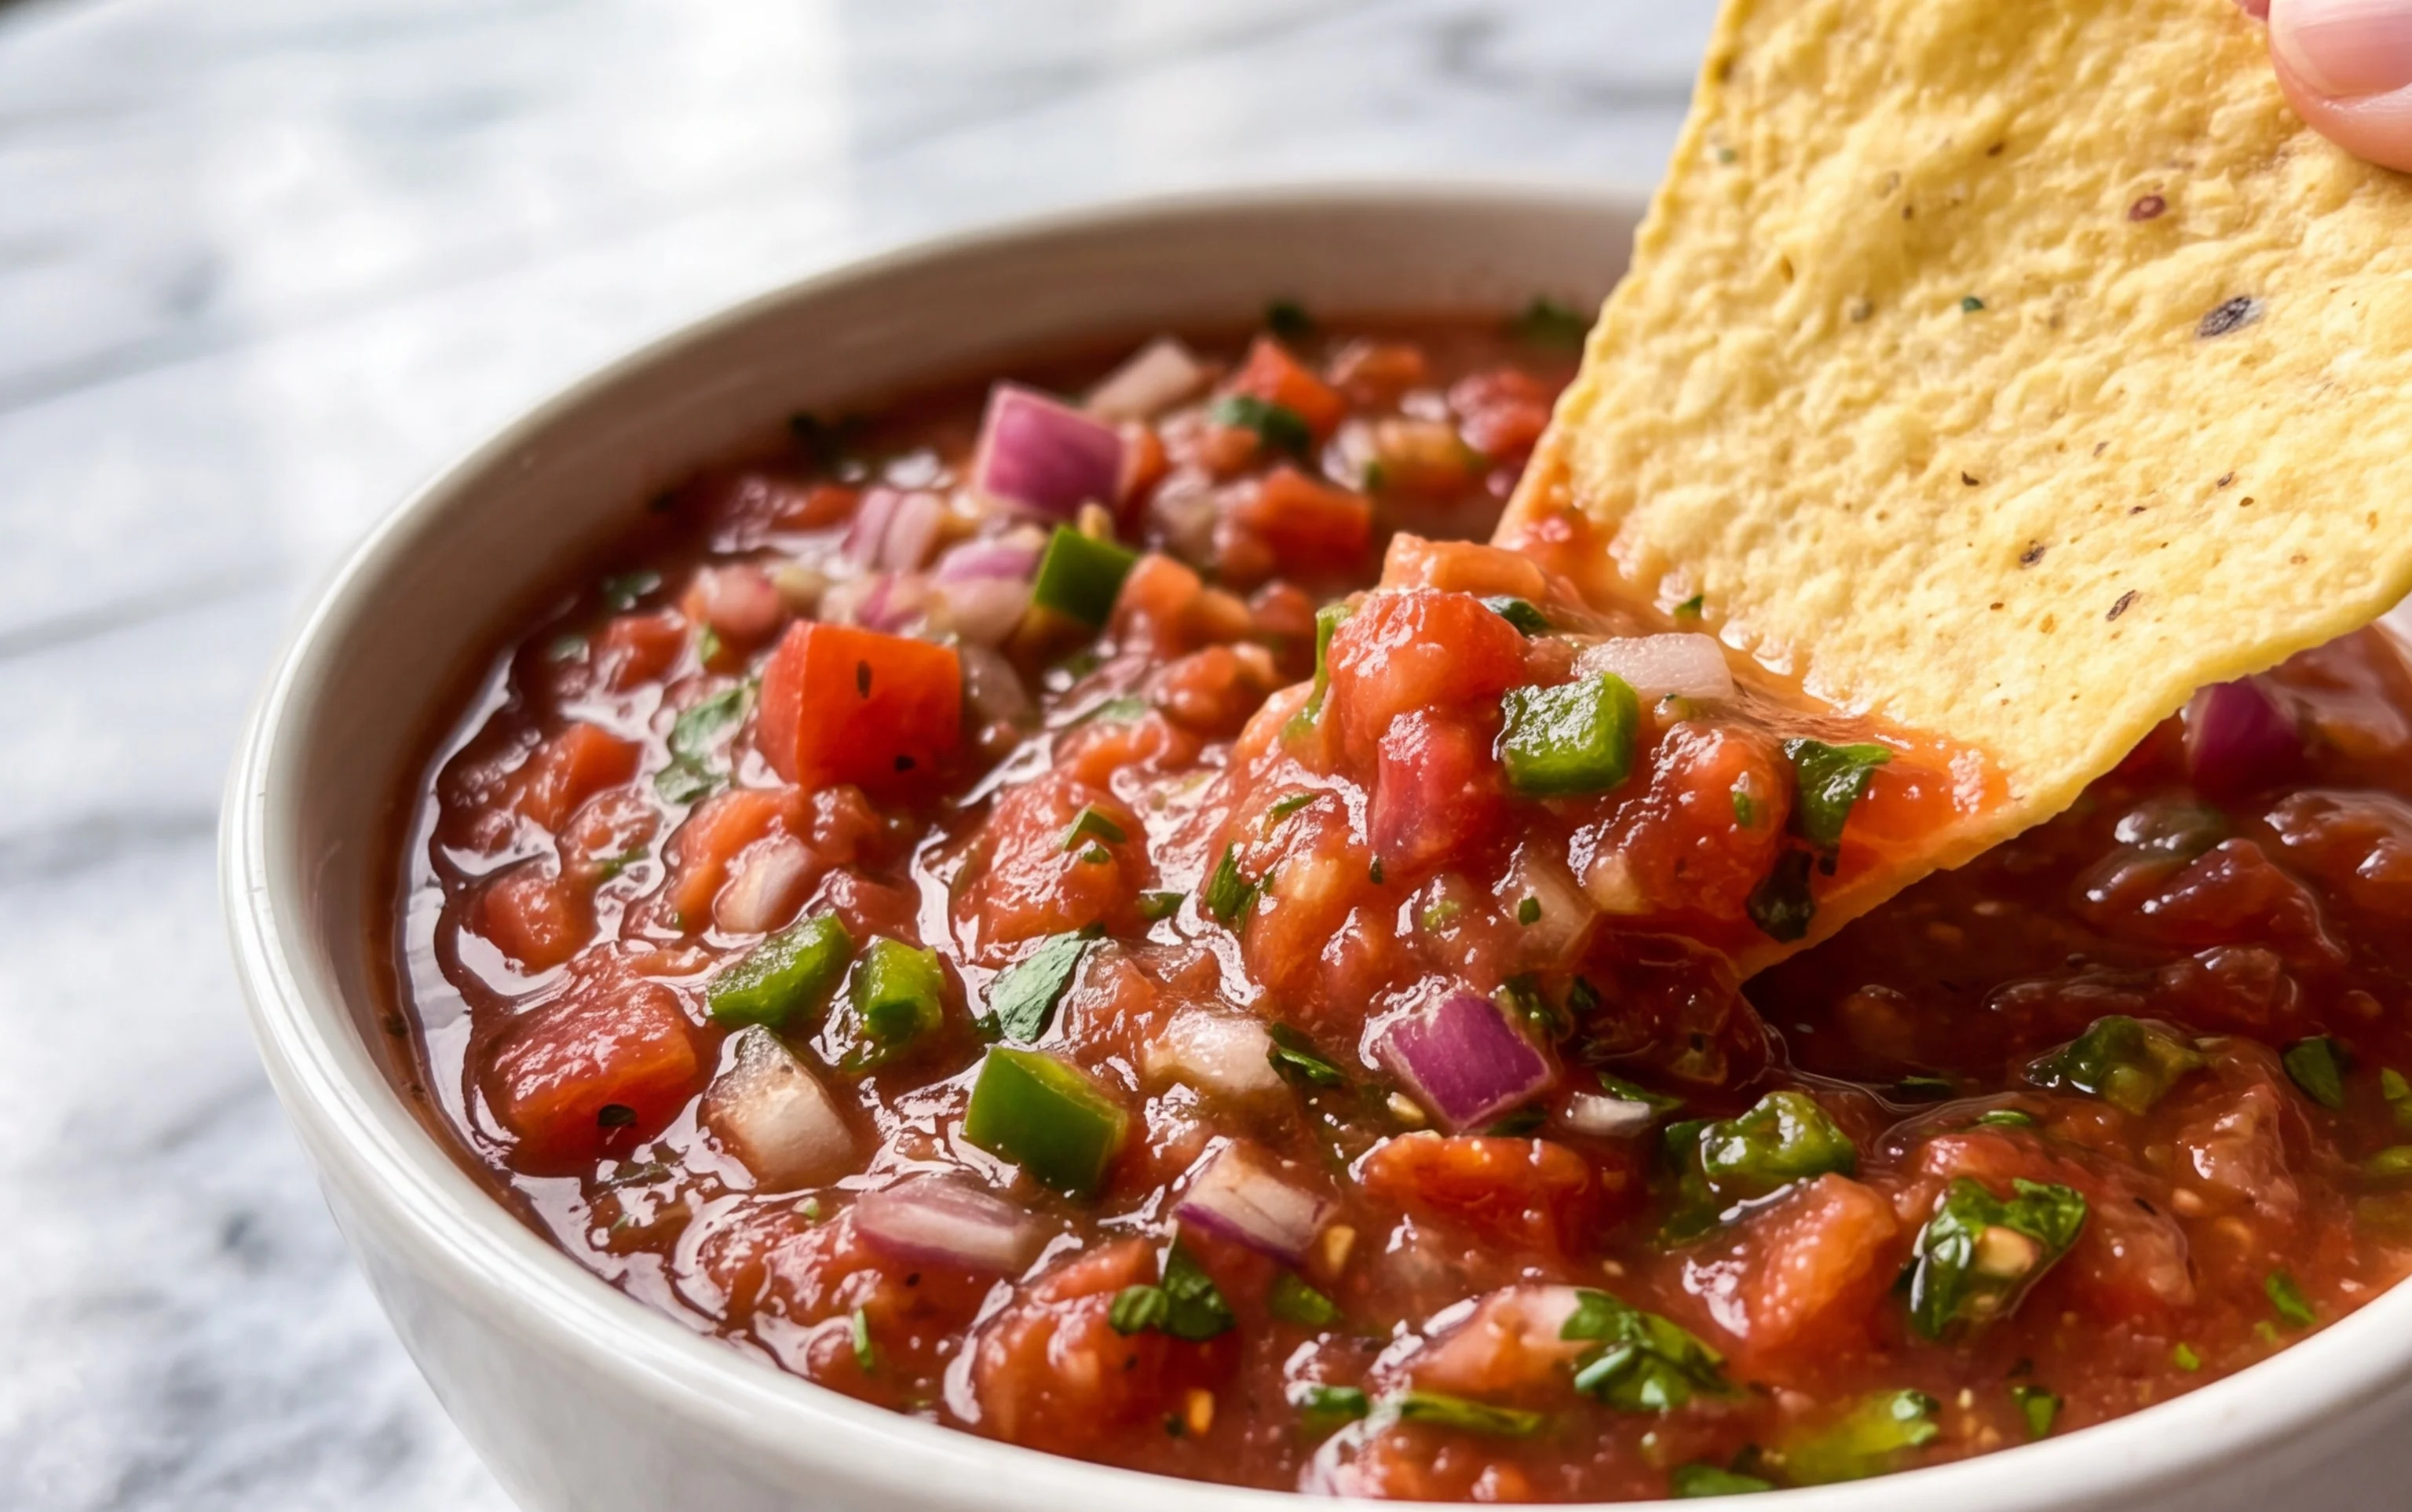
The Best Homemade Salsa
There’s something incredibly satisfying about a bowl of fresh, vibrant, homemade salsa. Forget those store-bought versions that are often too watery or lack the perfect balance of spice and tang. I’ve spent years perfecting this recipe, and I can confidently say this is the best homemade salsa you’ll ever make. It’s packed with fresh flavor, customizable to your spice preference, and perfect for dipping, topping, or just eating by the spoonful. This recipe is designed for canning, ensuring you have a taste of summer throughout the year, but it’s also delicious enjoyed fresh!
Ingredients:
- 10 cups peeled, chopped and drained tomatoes (see note below about selecting and preparing tomatoes)
- 3 cups chopped onion
- 1 3/4 cups chopped green bell pepper
- 5 medium jalapeños, finely chopped, membranes and seeds removed (leave in for extra spice) – about 1 to 1 1/4 cups
- 7 cloves garlic, finely minced
- 2 1/2 teaspoons ground cumin
- 2 1/2 teaspoons coarsely ground black pepper
- 2 1/2 tablespoons canning or pickling salt (use non-iodized salt for best results and proper canning)
- 1/3 cup chopped fresh cilantro
- 1/3 cup sugar (optional, adjust based on the sweetness of your tomatoes)
- 1 1/4 cups apple cider vinegar (a crucial ingredient for flavor and preservation)
- 16 ounces tomato sauce (this is not optional and is essential for safe canning and achieving the correct pH)
- 12 ounces tomato paste (optional, but highly recommended if you prefer a thicker, richer salsa)
Notes on Ingredients:
* Tomatoes: For the best salsa, I recommend using ripe, flavorful tomatoes. Roma or plum tomatoes are excellent choices because they have less water content and more flesh. If you’re using larger slicing tomatoes, ensure you drain them exceptionally well after chopping. To peel your tomatoes easily, score the bottom of each tomato with an ‘X’, then blanch them in boiling water for about 30-60 seconds until the skins begin to loosen. Immediately transfer them to an ice bath. The skins should then slip off with ease. Chop them into roughly 1/2-inch pieces and then let them drain in a colander for at least 30 minutes, pressing down occasionally to remove excess liquid. This draining step is vital for a thick, delicious salsa.
* Salt: Canning or pickling salt is recommended because it does not contain anti-caking agents that can cloud your canning liquid. If you can’t find it, use kosher salt, but be aware that its density differs, so measure carefully.
* Vinegar: Apple cider vinegar adds a lovely tang and depth of flavor to the salsa. You can substitute with white vinegar if needed, but the flavor will be slightly different.
Cooking Instructions:
Now for the fun part – transforming these fresh ingredients into a jar of pure deliciousness! This recipe is designed to be cooked and then processed for canning. If you’re not canning, you can enjoy this salsa fresh after chilling for at least a few hours to let the flavors meld.
Step 1: Combine the Base Ingredients
In a large, heavy-bottomed pot or Dutch oven (at least 8 quarts is ideal to prevent boiling over), combine the drained, chopped tomatoes, chopped onion, chopped green bell pepper, finely chopped jalapeños, and minced garlic. Stir everything together gently. This is the foundation of our salsa, and the combination of fresh vegetables is what gives it that incredible taste.
Step 2: Add Spices and Seasonings
To the pot, add the ground cumin, coarsely ground black pepper, and canning or pickling salt. If you’ve decided to use the sugar, add it now as well. The sugar is optional and really depends on how sweet your tomatoes are naturally. Taste a tiny bit of your raw tomato mixture (before adding the vinegar and tomato products) to get a sense of its sweetness. Stir these dry ingredients in thoroughly, ensuring they are evenly distributed throughout the vegetable mixture.
Step 3: Incorporate Wet Ingredients and Bring to a Simmer
Next, pour in the apple cider vinegar and the tomato sauce. Stir everything together until well combined. The tomato sauce is crucial for the salsa’s texture and, more importantly, for ensuring a safe pH for canning. Do not skip this ingredient if you plan to can your salsa. If you’re opting for a thicker salsa, now is the time to stir in the tomato paste. Bring the mixture to a boil over medium-high heat, stirring frequently. Once it reaches a rolling boil, reduce the heat to medium-low and let it simmer.
Step 4: Simmer and Thicken
This is where the magic happens. Let the salsa simmer, uncovered, for at least 30 minutes, stirring occasionally. The goal here is to allow the flavors to meld, the vegetables to soften slightly, and for the salsa to thicken. You’ll notice the liquid reducing, and the aroma filling your kitchen will be absolutely non-intoxicating! Continue simmering until your salsa reaches your desired consistency. Some people prefer a chunkier salsa, while others like it a bit more saucy. If you want it thicker, you can simmer it for a bit longer. Be sure to stir often during this stage to prevent sticking and scorching on the bottom of the pot.
Step 5: Stir in Fresh Cilantro and Prepare for Canning (or Chilling)
Once the salsa has reached your desired consistency and the flavors have melded beautifully, remove the pot from the heat. Stir in the chopped fresh cilantro. Fresh cilantro added at the end provides a bright, herbaceous finish that really elevates the salsa.
At this point, your delicious homemade salsa is ready!
If Canning:
Allow the salsa to cool slightly. Ladle the hot salsa into sterilized canning jars, leaving 1/2 inch of headspace. Wipe the rims of the jars clean, place the lids and rings on, and process in a boiling water bath canner according to tested canning guidelines for salsa (typically 15 minutes for pints, adjusted for altitude). Let the jars cool completely on a towel-lined counter before checking the seals. Store in a cool, dark place.
If Enjoying Fresh:
Transfer the salsa to an airtight container and refrigerate for at least 2-3 hours before serving. This chilling period allows the flavors to deepen and meld together beautifully. The salsa will keep in the refrigerator for about a week.
Enjoy your incredibly flavorful, best-ever homemade salsa!
Conclusion:
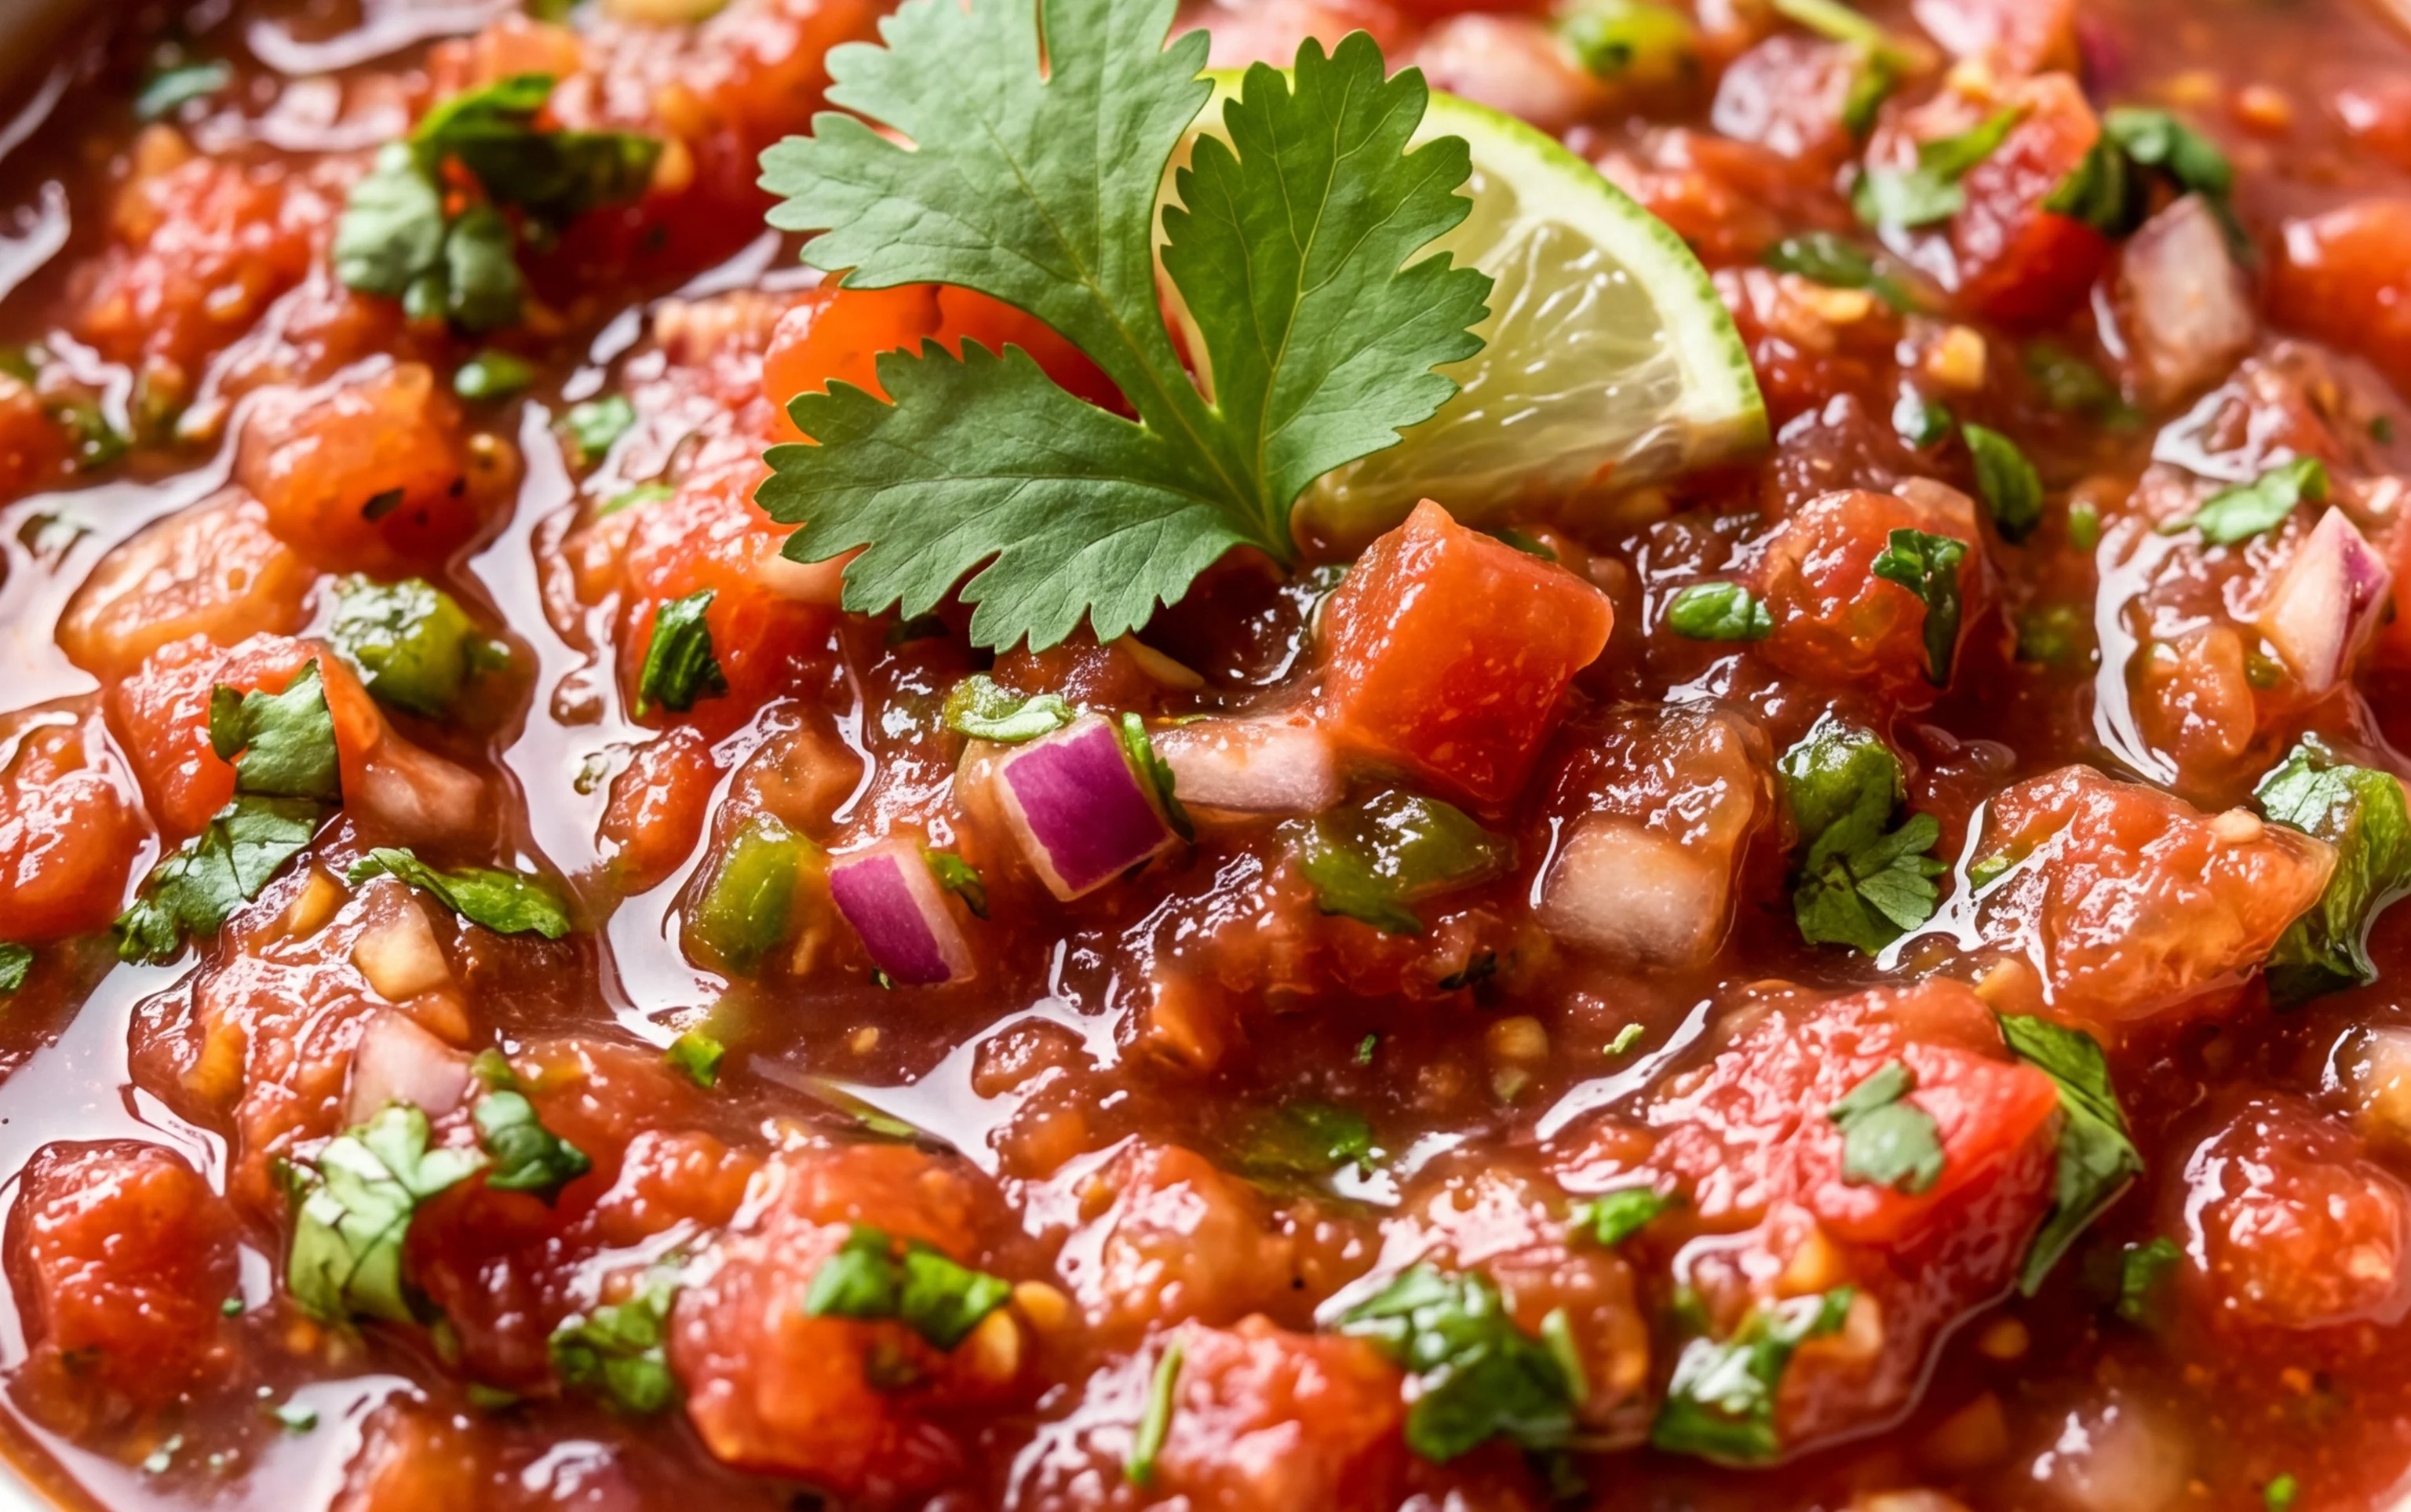
Making The Best Homemade Salsa is surprisingly simple and incredibly rewarding. This recipe truly shines because it offers a fresh, vibrant flavor that store-bought versions just can’t match. The balance of tangy tomatoes, zesty lime, and a kick of heat is perfectly customizable to your liking. It’s a versatile staple that elevates any meal from a simple snack to a full-blown fiesta. Don’t be intimidated; the process is straightforward, and the results are absolutely delicious. I encourage you to give this recipe a try – you might just find your new go-to salsa!
Serving suggestions are endless! This salsa is fantastic with tortilla chips, of course. But it’s also a game-changer on tacos, burritos, quesadillas, scrambled eggs, grilled chicken or fish, and even as a topping for avocado toast. The possibilities are truly limitless.
For variations, feel free to experiment! Add a pinch of smoked paprika for a smoky depth, a spoonful of pickled jalapeños for extra tang and spice, or even some finely diced mango or pineapple for a sweet and fruity twist. You can also adjust the amount of onion and cilantro to your personal preference.
Frequently Asked Questions:
How long does this homemade salsa last?
Stored in an airtight container in the refrigerator, The Best Homemade Salsa should stay fresh and delicious for about 5-7 days. The flavors actually tend to meld and deepen on the second day, making it even better!
Can I make this salsa spicier or milder?
Absolutely! To make it spicier, add more jalapeños (or other chili peppers like serranos for more heat) and consider leaving some of the seeds in. To make it milder, remove all seeds and membranes from the jalapeños, or use less pepper overall.
What’s the best way to chop the ingredients?
For the best texture and flavor distribution, aim for a relatively fine dice for your tomatoes, onions, and jalapeños. This ensures that every bite is a burst of flavor. However, if you prefer a chunkier salsa, feel free to cut them slightly larger.
The Best Homemade Salsa
A delicious and customizable homemade salsa recipe, perfect for canning or enjoying fresh. Adjust spice and sweetness to your preference.
Ingredients
-
10 cups peeled, chopped and drained tomatoes
-
3 cups chopped onion
-
1 3/4 cups chopped green bell pepper
-
1 1/4 cups finely chopped jalapeños, membranes and seeds removed
-
7 cloves garlic, finely minced
-
2 1/2 teaspoons ground cumin
-
2 1/2 teaspoons coarsely ground black pepper
-
2 1/2 tablespoons canning or pickling salt
-
1/3 cup chopped fresh cilantro
-
1/3 cup sugar (optional)
-
1 1/4 cups apple cider vinegar
-
16 ounces tomato sauce
-
12 ounces tomato paste (optional)
Instructions
-
Step 1
Combine chopped tomatoes, onion, green bell pepper, jalapeños, and minced garlic in a large pot. -
Step 2
Stir in ground cumin, black pepper, salt, cilantro, and optional sugar. -
Step 3
Add apple cider vinegar, tomato sauce, and optional tomato paste. Mix thoroughly. -
Step 4
Bring the mixture to a boil over medium-high heat, then reduce heat and simmer for at least 30 minutes, stirring occasionally. -
Step 5
For best flavor, let the salsa cool and meld for at least an hour before serving. For canning, follow proper canning procedures.
Important Information
Nutrition Facts (Per Serving)
It is important to consider this information as approximate and not to use it as definitive health advice.
Allergy Information
Please check ingredients for potential allergens and consult a health professional if in doubt.


