Classic Flaky Scones – Easy Afternoon Tea Treat
Classic scones are more than just a baked good; they’re a warm hug in edible form, a taste of tradition, and an invitation to slow down and savor the moment. There’s a reason why these tender, slightly crumbly delights have captured hearts for generations. They embody a simple elegance, a perfect balance of buttery richness and delicate texture that sings with every bite. Whether you’re a seasoned baker or just starting your culinary adventure, mastering the art of the classic scone is incredibly rewarding. It’s the quintessential accompaniment to a steaming cup of tea, a dollop of clotted cream, and a spoonful of your favorite jam – a trifecta of pure bliss. What makes them truly special is their versatility and the comforting ritual of making them. So, let’s dive in and create some magic together, ensuring your next batch of classic scones is the best you’ve ever tasted.
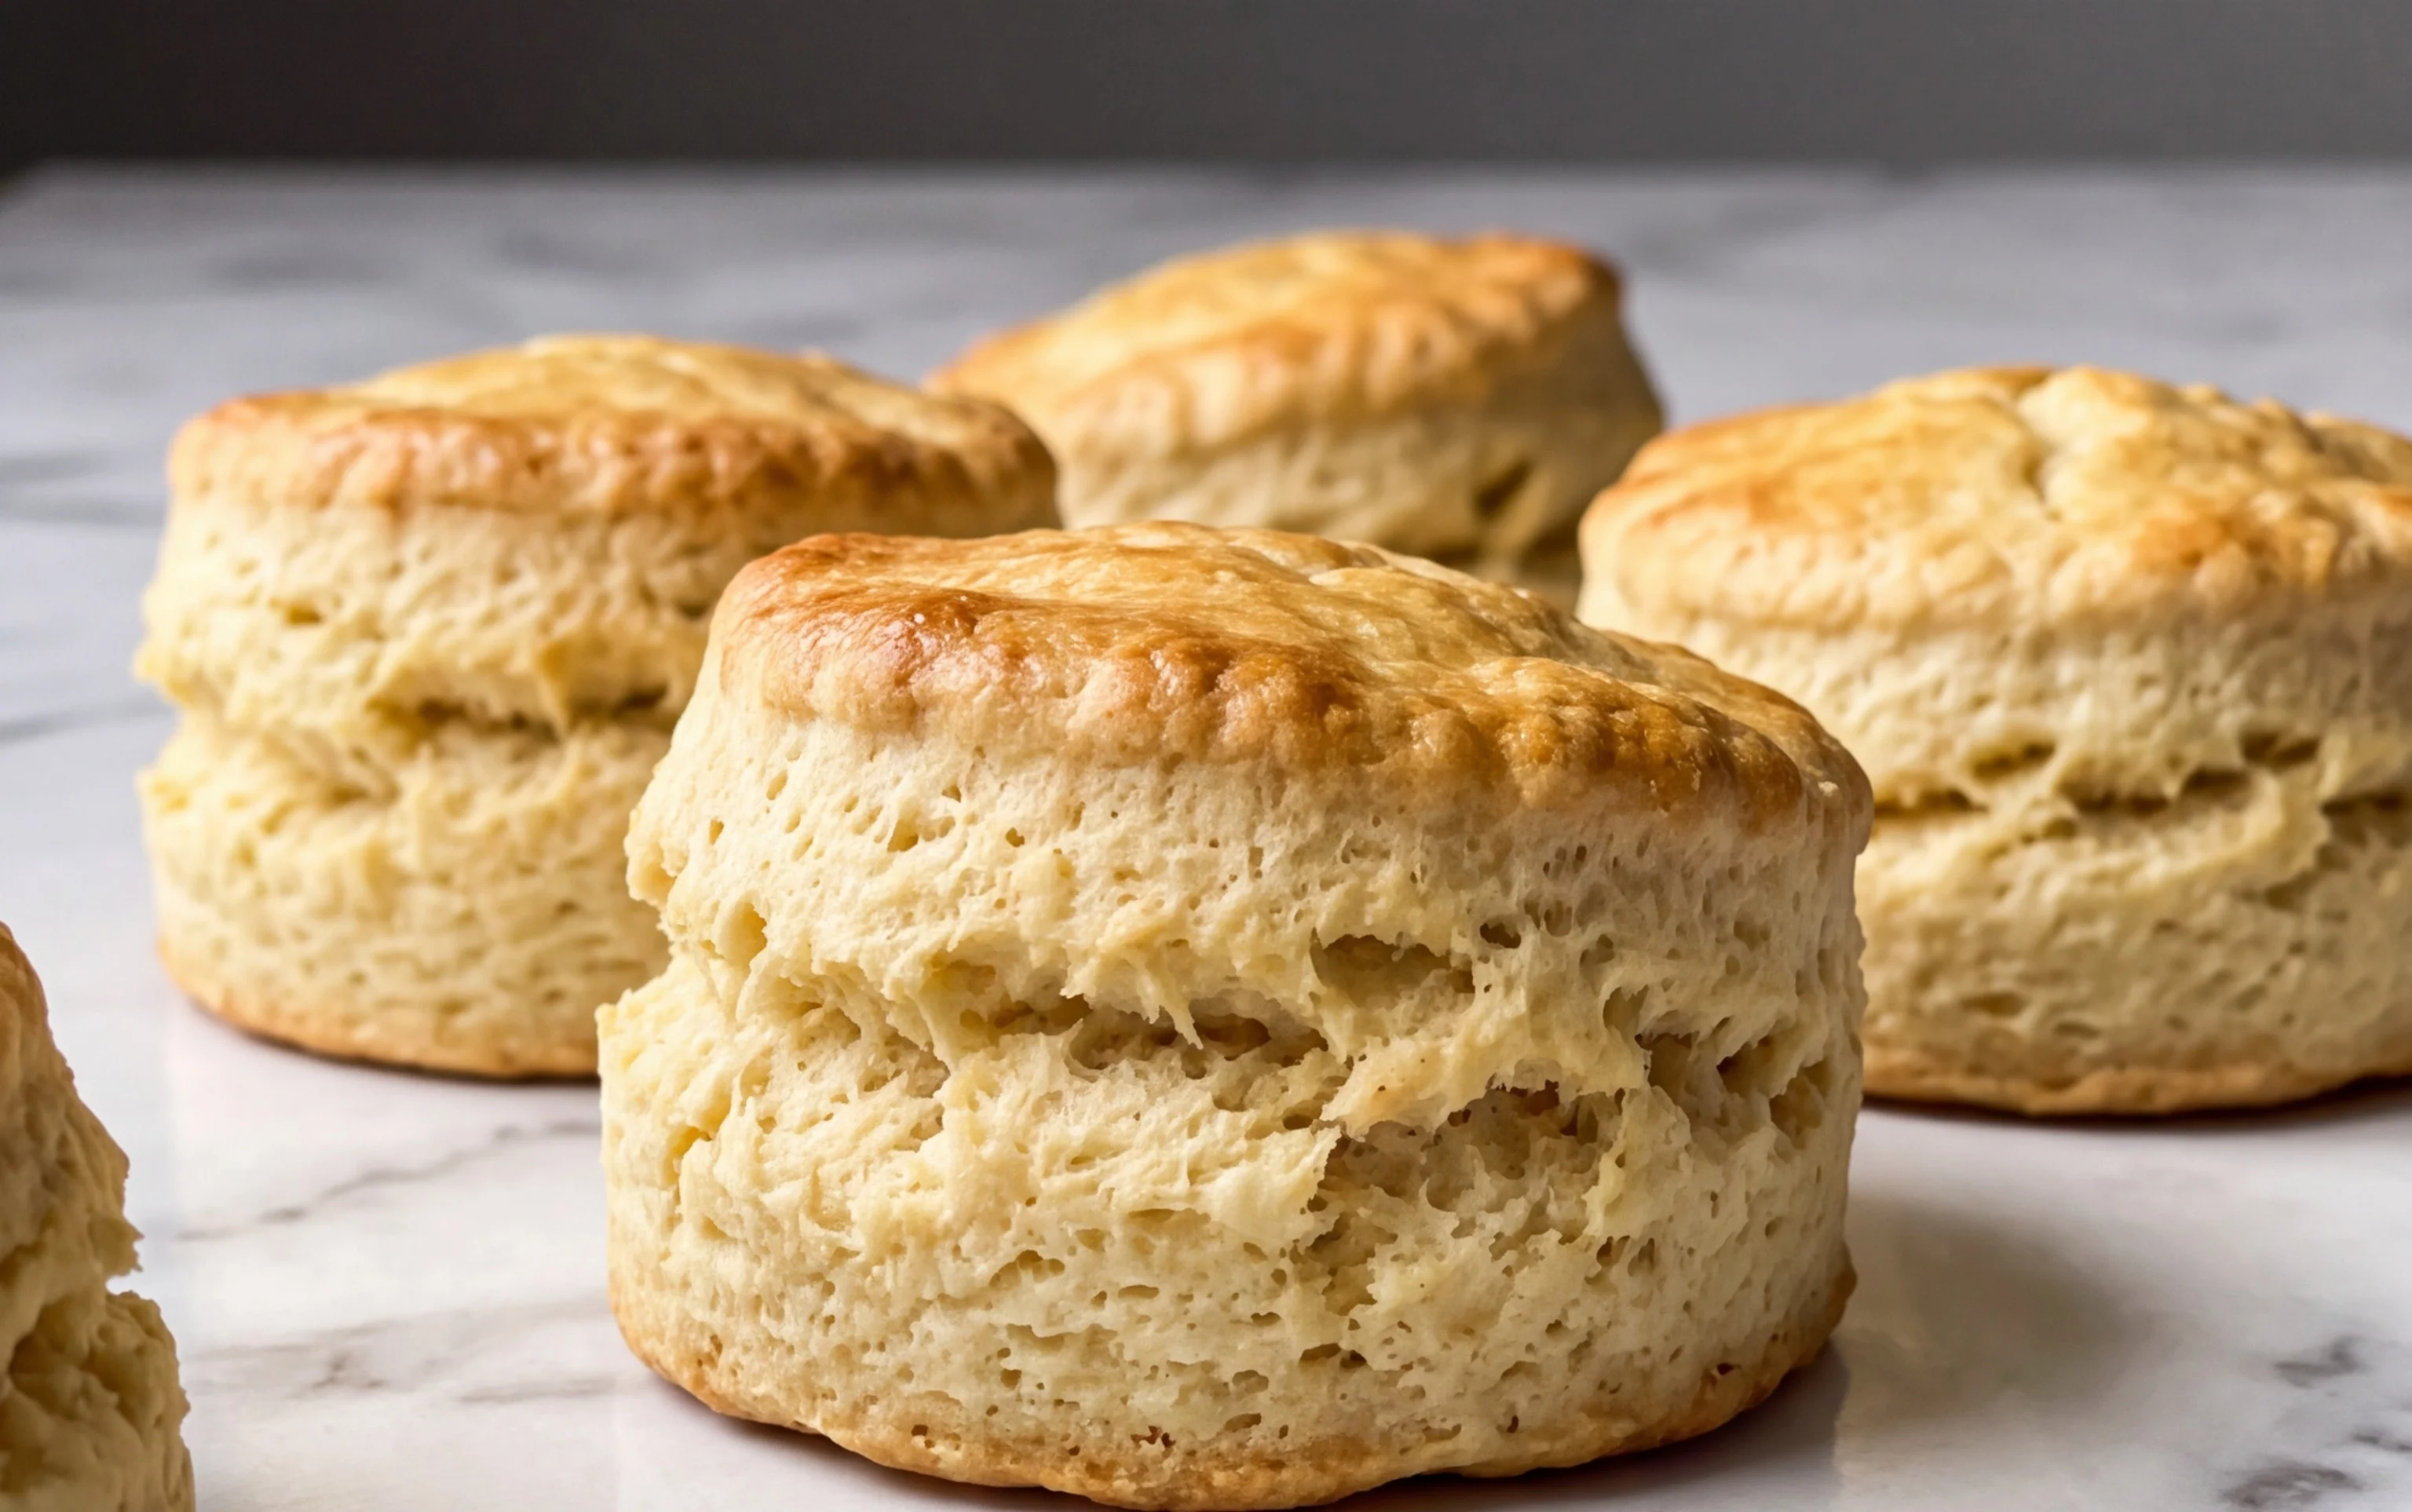
Classic Scones
There’s something undeniably comforting about a warm, flaky scone. Whether you enjoy them slathered with clotted cream and jam for a traditional afternoon tea, or simply with a dollop of butter for a comforting breakfast treat, a perfectly made scone is a simple pleasure that’s hard to beat. Today, we’re going to walk through how to create truly classic scones, the kind that are tender on the inside with a delightful crisp exterior. These aren’t the dense, heavy scones you might have encountered; these are light, airy, and bursting with buttery goodness.
The secret to superior scones lies in a few key techniques: using cold ingredients, a gentle hand when mixing, and not overworking the dough. We’ll break down each step to ensure you achieve scone perfection every time.
Ingredients:
- 3 cups (381 grams) all-purpose flour, (measured correctly)
- 1/3 cup (66 grams) granulated sugar
- 1 teaspoon fine sea salt
- 1 tablespoon baking powder
- 1/2 teaspoon baking soda
- 1 1/2 sticks (170 grams) unsalted butter, (cold and cubed)
- 1 cup (237 grams) buttermilk
- 2 large eggs, (divided)
- 1 teaspoon vanilla extract
- Coarse sugar, (for topping)
The Scone-Making Process
Let’s get started on creating these delightful treats. The first few steps are all about building a solid foundation for our scones.
1. Preparing the Dry Ingredients
In a large mixing bowl, we’ll combine all of our dry ingredients. This is where we ensure everything is evenly distributed, which is crucial for consistent leavening and texture. Add the 3 cups of all-purpose flour. Make sure to measure your flour correctly: spoon it into your measuring cup and then level it off with a straight edge. This prevents packing too much flour, which can lead to dry scones. Next, add the 1/3 cup of granulated sugar for a touch of sweetness, and the 1 teaspoon of fine sea salt to enhance all the flavors. Finally, whisk in the 1 tablespoon of baking powder and the 1/2 teaspoon of baking soda. The baking powder will provide the primary lift, while the baking soda, activated by the buttermilk, will contribute to browning and tenderness. Whisk these together thoroughly until everything is well incorporated.
2. Cutting in the Cold Butter
This is perhaps the most critical step for achieving that signature flaky texture. We need to ensure our butter is as cold as possible. Take your 1 1/2 sticks of unsalted butter, which should be firm and cold from the refrigerator, and cut it into small cubes. Add these cold butter cubes to the bowl with the dry ingredients. Now, using a pastry blender, your fingertips, or two knives, begin to cut the butter into the flour mixture. The goal is to break down the butter into small pieces, about the size of peas, with some larger, pea-sized pieces still remaining. This creates pockets of butter within the dough. When these pockets melt in the oven, they release steam, which lifts the dough and creates those lovely layers we want in our scones. Work quickly to prevent the butter from melting too much from the warmth of your hands. Don’t overmix; you want those distinct pieces of butter to remain.
3. Incorporating the Wet Ingredients
Now, it’s time to bring our dough together. In a separate, smaller bowl, lightly whisk together the 1 cup of buttermilk, 1 large egg (we’ll use the other egg for the wash later), and the 1 teaspoon of vanilla extract. Pour this wet mixture into the dry ingredients and butter mixture. Using a fork or a spatula, gently mix everything together until *just* combined. You should still see some dry bits of flour and some larger streaks of butter. It’s very important not to overmix here. Overworking the dough develops the gluten in the flour, which will result in tough, chewy scones instead of tender, crumbly ones. Stop mixing as soon as you no longer see large amounts of dry flour. The dough will be shaggy and a bit sticky, and that’s perfectly okay.
4. Shaping the Dough
Turn the shaggy dough out onto a lightly floured surface. Gently bring the dough together with your hands, patting it into a disk about 3/4 to 1 inch thick. Avoid kneading. You can fold the dough over on itself a few times to create some additional layers, but don’t work it excessively. The less you handle the dough, the more tender your scones will be. Once you have your disk, use a floured biscuit cutter (about 2-3 inches in diameter) or a knife to cut out your scones. If you’re using a cutter, press straight down without twisting. Twisting can seal the edges of the scone, preventing it from rising evenly. You can gather the scraps, gently pat them together, and cut more scones, but these might be slightly less tender than the first batch. Place the cut scones onto a baking sheet lined with parchment paper.
5. The Finishing Touches and Baking
Preheat your oven to 425 degrees Fahrenheit (220 degrees Celsius). In a small bowl, whisk the remaining large egg with a teaspoon of water to create an egg wash. Lightly brush the tops of your scones with this egg wash. This will give them a beautiful golden-brown color and a lovely sheen. Then, sprinkle the tops generously with coarse sugar. This adds a delightful crunch and visual appeal. Bake for 15-20 minutes, or until the scones are golden brown and a toothpick inserted into the center comes out clean. The exact baking time will depend on your oven and the size of your scones.
Once baked, let the scones cool on the baking sheet for a few minutes before transferring them to a wire rack to cool further. They are best enjoyed warm, but will keep in an airtight container for a day or two. Enjoy your homemade classic scones!
Conclusion:
There you have it – the secrets to baking truly classic scones that are beautifully golden, delightfully crumbly, and utterly satisfying. This recipe is fantastic because it uses simple, readily available ingredients and a straightforward method that even novice bakers can master. The result is a versatile treat that’s perfect for any occasion, from a leisurely breakfast to an elegant afternoon tea.
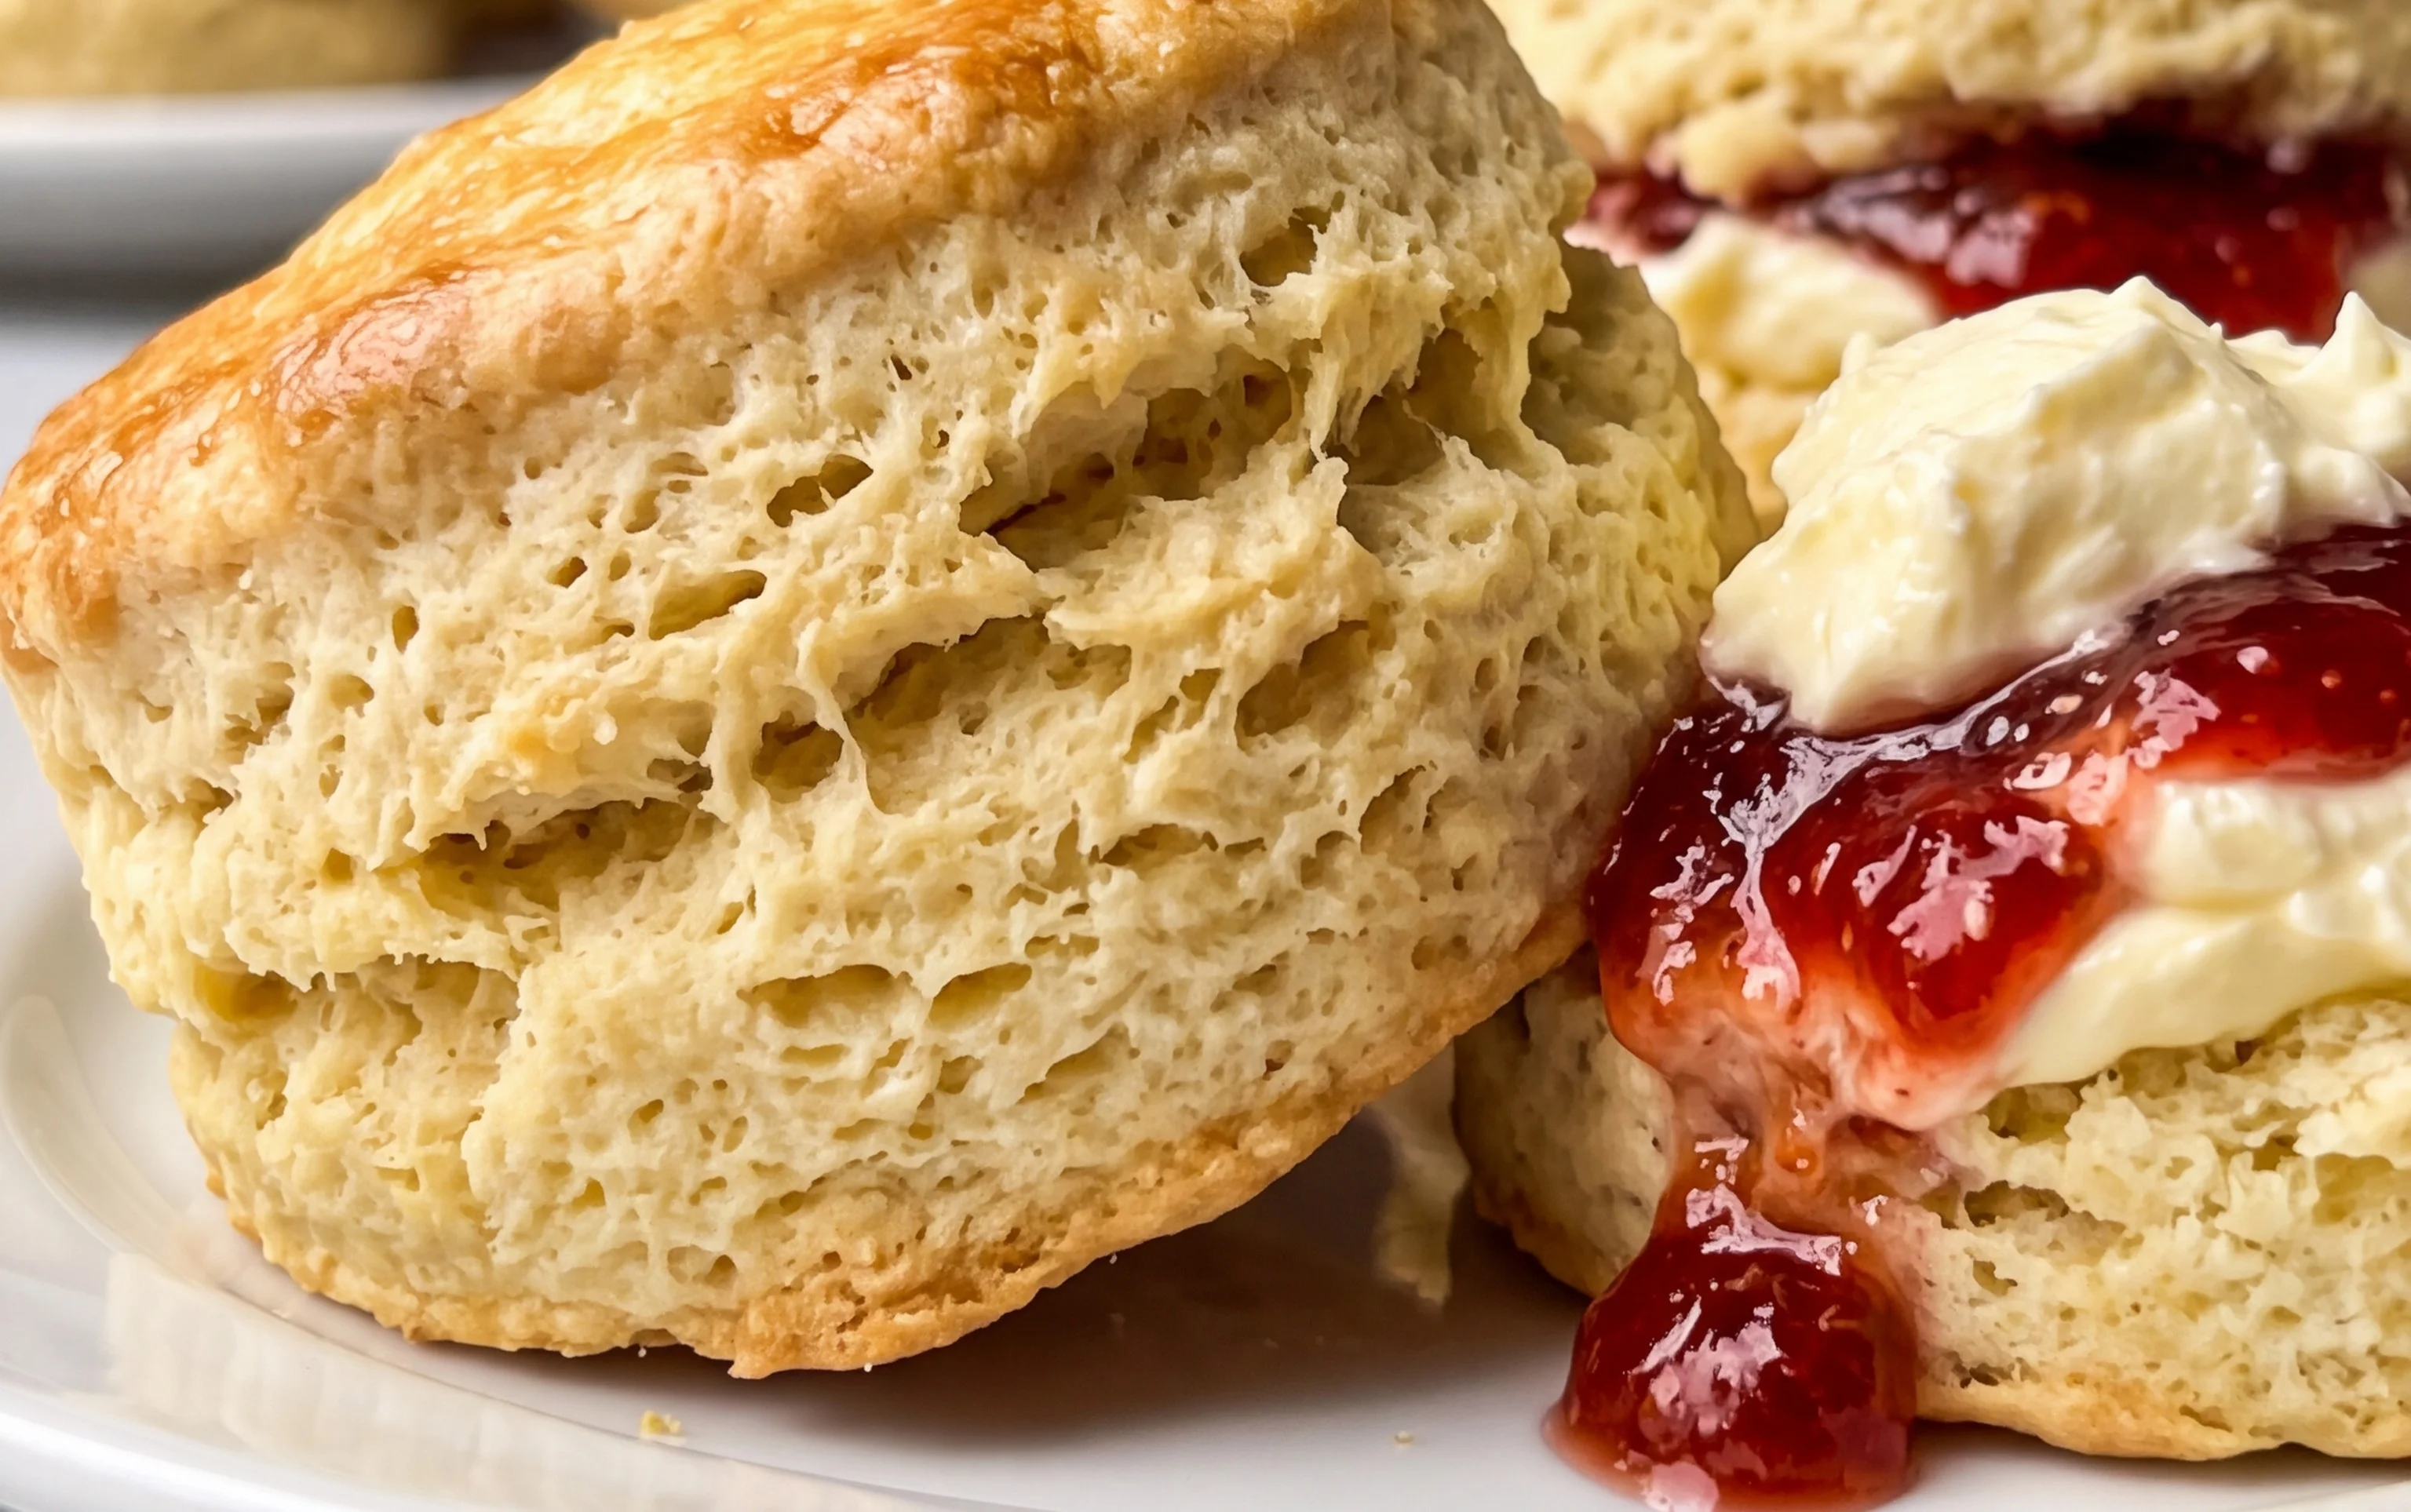
I love serving these warm, straight from the oven, with a generous dollop of clotted cream and a spoonful of your favourite jam. They are also wonderful plain, allowing the delicate buttery flavour to shine through. Don’t be afraid to get creative with variations! You can easily add dried fruit like sultanas or cranberries, or even a sprinkle of fresh lemon zest for a brighter taste. Chocolate chips or a pinch of warming spice like cinnamon also make for delicious additions.
I genuinely encourage you to give this classic scones recipe a try. The aroma filling your kitchen as they bake is non-intoxicating, and the joy of biting into a perfectly made scone is unparalleled. So, preheat your ovens and get ready to impress yourself and your loved ones!
Frequently Asked Questions:
Why are my scones tough?
Tough scones are usually the result of overmixing the dough or overworking it after the wet ingredients are added. Mix just until the ingredients are combined. A light touch is key!
Can I make the dough ahead of time?
Yes, you can prepare the dough and refrigerate it for up to 24 hours. Just be sure to let it sit at room temperature for about 15-20 minutes before shaping and baking to ensure it’s not too stiff.
What’s the best way to store leftover scones?
Store leftover scones in an airtight container at room temperature for up to 2 days. They are best enjoyed fresh, but if you need to reheat them, a few minutes in a warm oven will revive their texture beautifully.
Classic Scones
A timeless recipe for tender and fluffy classic scones, perfect for breakfast or afternoon tea.
Ingredients
-
3 cups all-purpose flour
-
1/3 cup granulated sugar
-
1 teaspoon fine sea salt
-
1 tablespoon baking powder
-
1/2 teaspoon baking soda
-
1 1/2 sticks unsalted butter, cold and cubed
-
1 cup buttermilk
-
2 large eggs, divided
-
1 teaspoon vanilla extract
-
Coarse sugar, for topping
Instructions
-
Step 1
Preheat oven to 400°F (200°C). Line a baking sheet with parchment paper. -
Step 2
In a large bowl, whisk together the flour, granulated sugar, salt, baking powder, and baking soda. -
Step 3
Cut in the cold butter using a pastry blender or your fingertips until the mixture resembles coarse crumbs. -
Step 4
In a separate bowl, whisk together the buttermilk, one large egg yolk, and vanilla extract. -
Step 5
Pour the wet ingredients into the dry ingredients and mix until just combined. Do not overmix. -
Step 6
Turn the dough out onto a lightly floured surface and gently pat it into a 3/4-inch thick disk. Cut into wedges or use a round cutter. -
Step 7
Place scones on the prepared baking sheet. Whisk the remaining egg white and brush over the tops of the scones. Sprinkle with coarse sugar. -
Step 8
Bake for 15-18 minutes, or until golden brown and cooked through.
Important Information
Nutrition Facts (Per Serving)
It is important to consider this information as approximate and not to use it as definitive health advice.
Allergy Information
Please check ingredients for potential allergens and consult a health professional if in doubt.


